
- Initial Setup
- Download Pixelcut and Pexels (or any royalty-free image website).
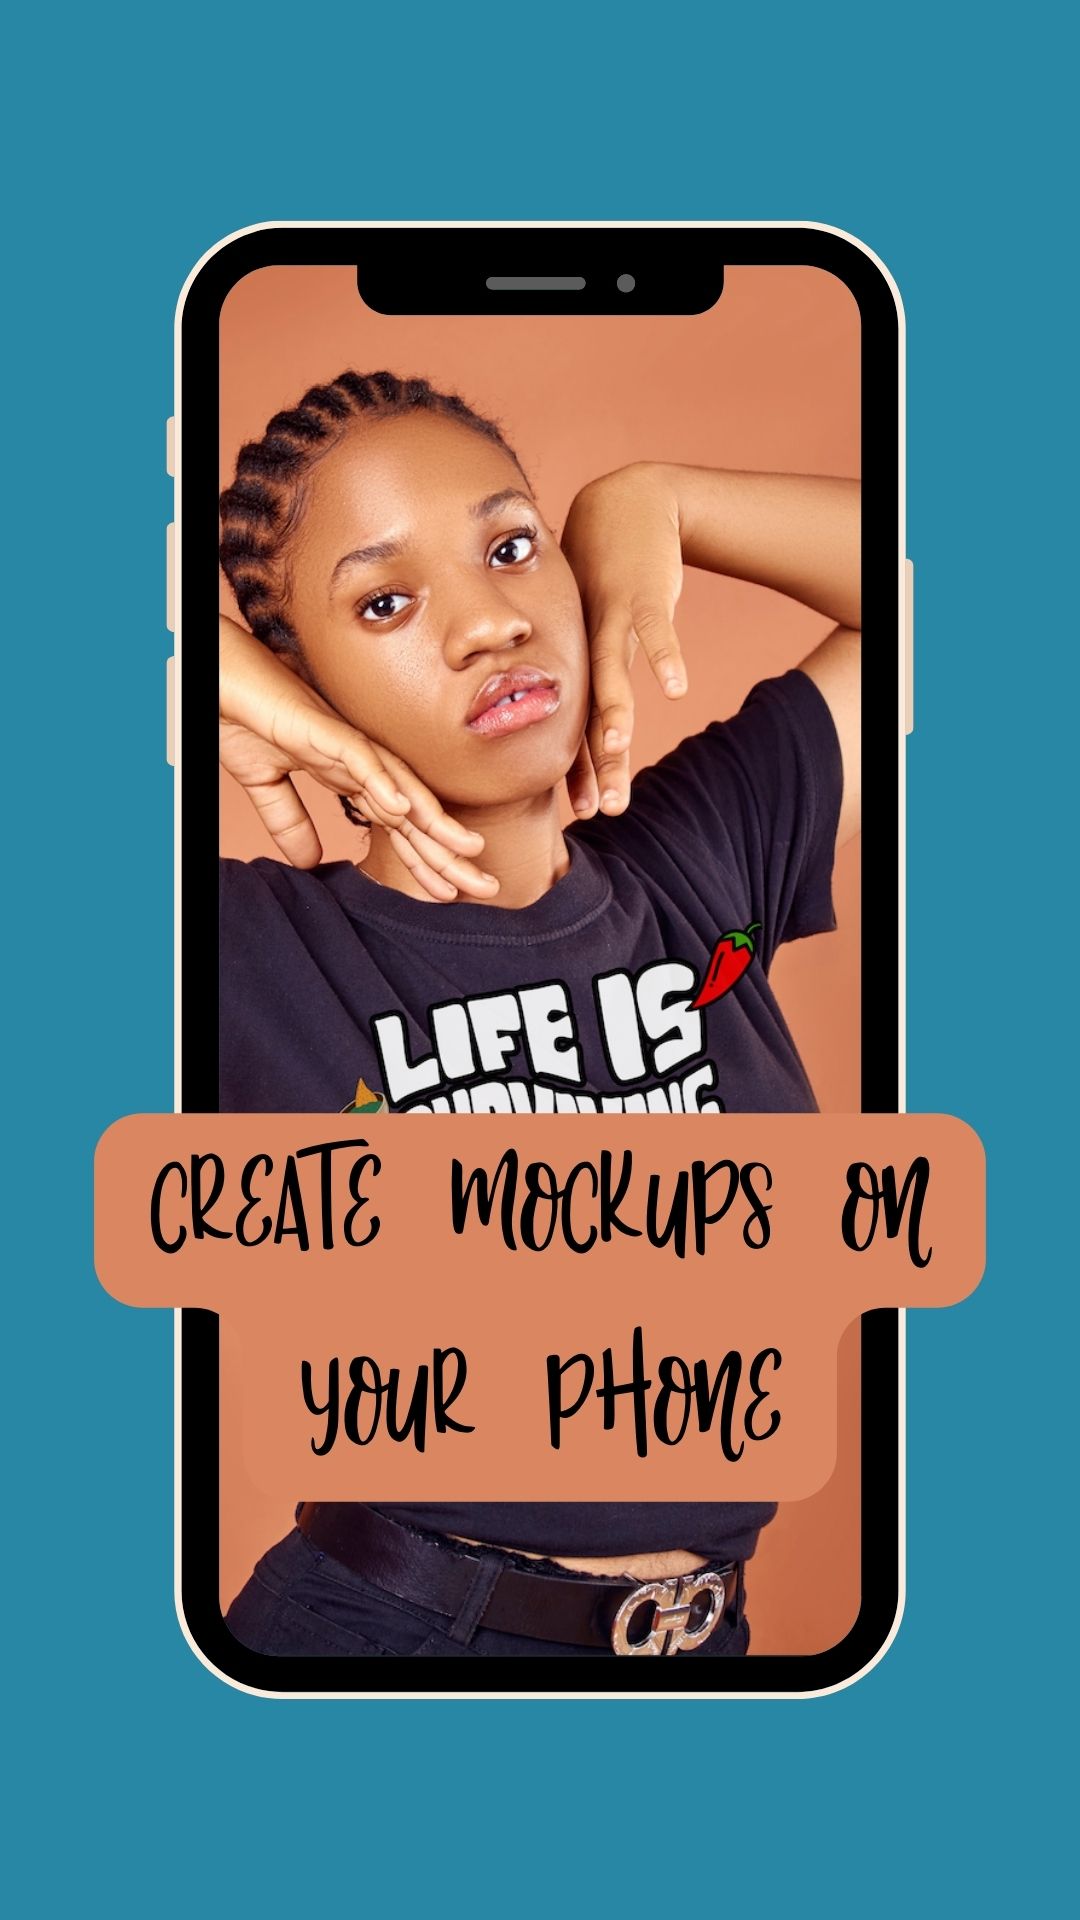
- Choose and download the image you want to use for your mockup.
- Creating a New Document
- Open Pixelcut and use the plus button to create a new document.
- Editing Your Photo
- Click “Open In Editor” to start editing your photo.
- Use the “Layers” tab to add a layer with your design.
- Click the “Add” button to add your design.
- If you have a pre-existing design, select “Photo”; to create a new design, use text, stickers, and shapes.
- Design Adjustments
- Remove the background if necessary (useful for designs with transparent PNG).
- Adjust the design to match the image in size and angle, aiming for a natural look.
- Test different opacity values, around 90%, to find the best match for your design.
- Finalizing and Sharing
- Click the “Share” button to download your finished mockup.
Remember, the key is to make your design look as natural and integrated into the image as possible. Experiment with different adjustments to achieve the best results.