
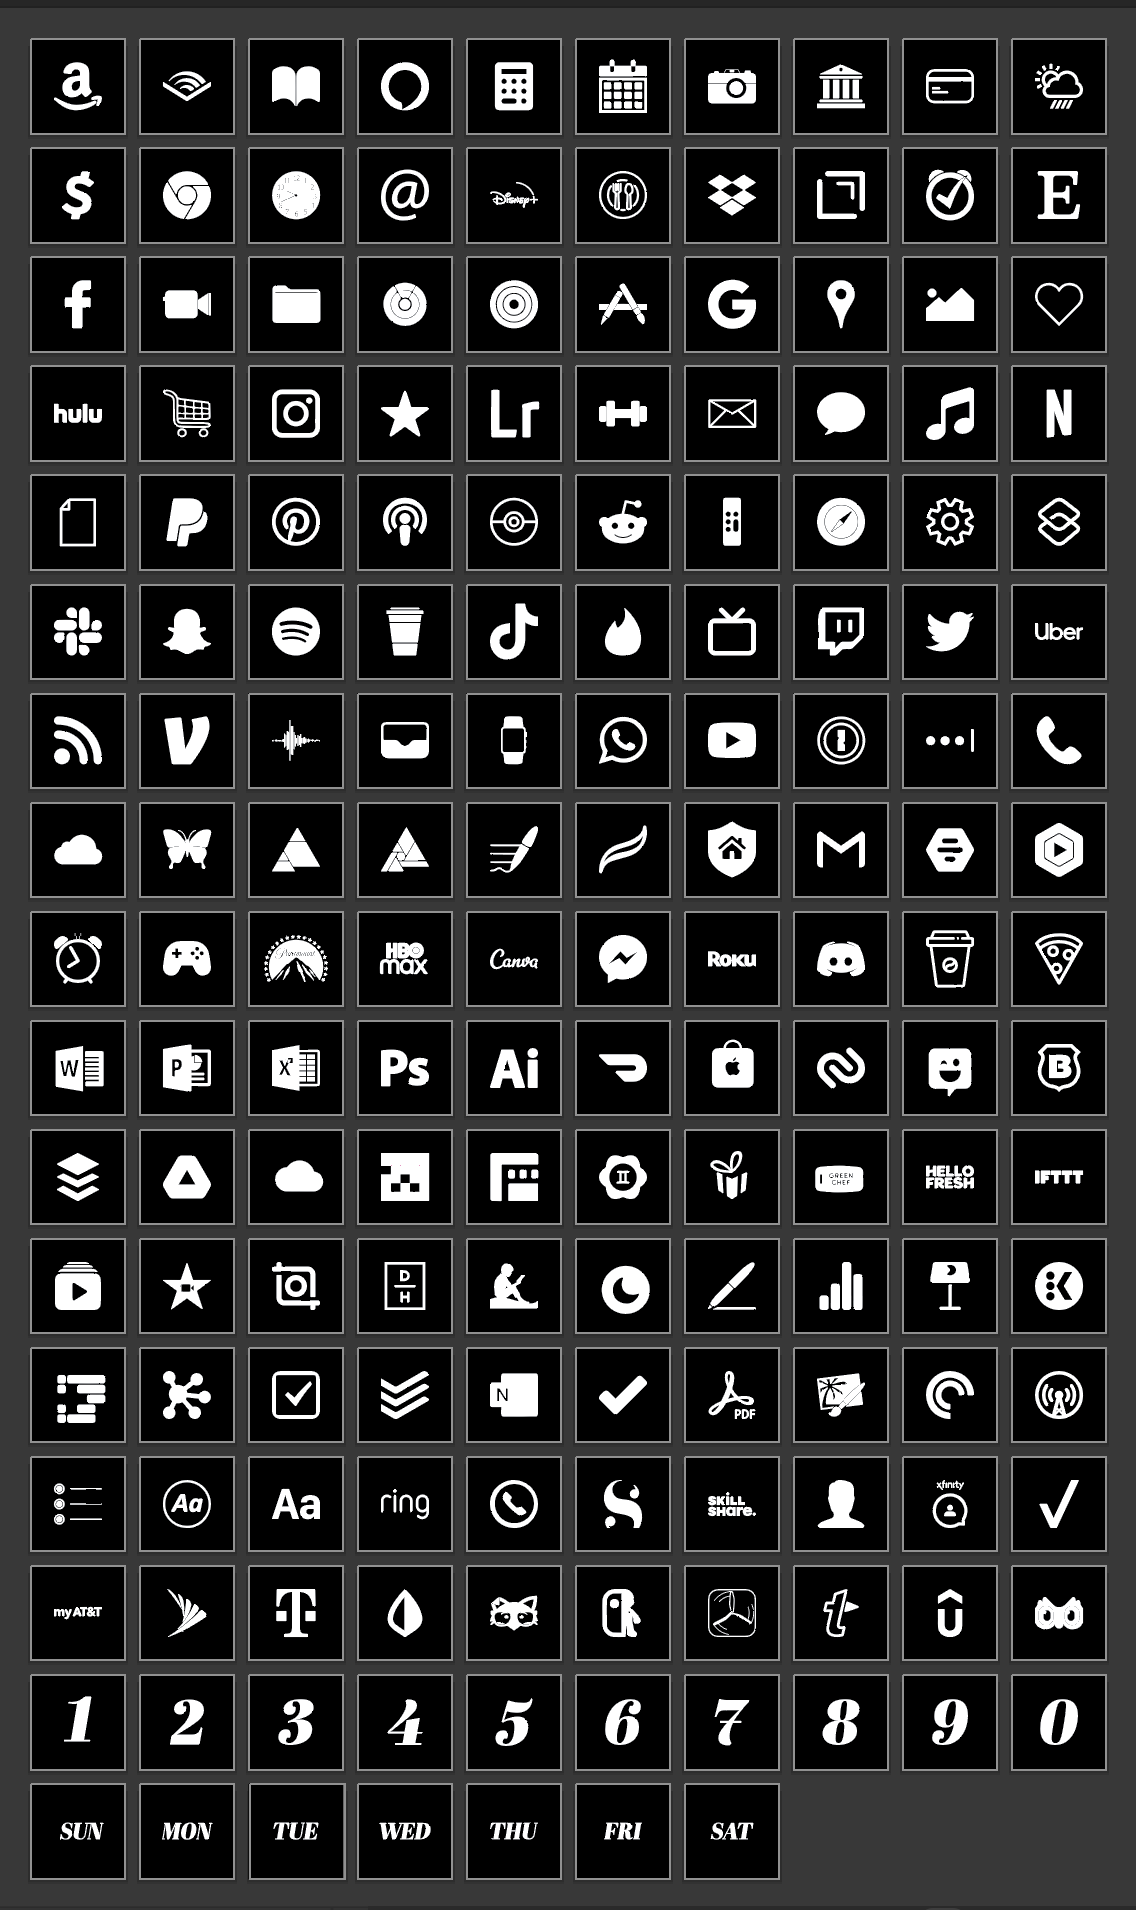
Here’s a preview of the icons currently included in all my icon packs released after May 2022.
I’ve been waiting for years to customize my iPhone. Way back in the long, long ago, I used to jailbreak my iPhone to add a little extra flair. I don’t jailbreak anymore, but I still love an aesthetic Home Screen. Apple doesn’t make it easy to customize your device, but with some cleaver illusions and fantastic apps, we can make some really impressive layouts. This guide will outline how to set up custom icons on your iOS device. I’ll update this guide as new information, apps, and techniques become available.
Apps I Use To Customize My iOS Device
Step 1: Download Your App Icons And Wallpaper
To commiserate your iOS device, you’ll need a few assets. You can go really crazy with customization, but the first things you’ll want are some custom wallpaper and icons. I have a variety of icon sets on my Etsy shop if you don’t already have a set downloaded. I also have a collection of wallpapers included in the icon packs, as well as some free wallpapers here on the site.
Step 2: Move Your Downloaded Files To Your Device
Once you’ve decided on a wallpaper and icon set, you’ll need to get these moved over to your device. There are two basic ways you can do this. The first option is to save everything to the Photos app, and the second option to use folders in the Files app. If you have a few icons you’d like to use, the Photos app is an excellent option. If you want to use many custom icons, or you intend to have a more advanced set up, the Files app will probably be a better option. I primarily use the Files app to manage my icons and get them moved over to my iPhone. The icons I create are already named and organized in a folder, so moving them to the Files app is pretty easy. You can copy the folder using your computer or directly from the web browser on your device.
Step 3: Set Your Wallpaper
Saving the wallpaper you want to use directly to the Photos app is the simplest way to go.
- Open Photos on your device
- Navigate to the wallpaper you saved and tap on it to make it fill the screen.
- Tap on the Share button
- Tap Use As Wallpaper
- Tap the Parallax Effect / Perspective Zoom button to turn off Perspective Zoom. Turning off Perspective Zoom is important if you plan to use icons with a transparent background.
- Tap Set. You can use to set the wallpaper as your Lock Screen, Home Screen, or both.
Step 4: Add The Custom Icons To Your Home Screen
At this point, you’ve updated your wallpaper and moved your icon files over to your device. The next step is to add the icons to your Home Screen. We add custom icons with the Shortcuts app. Basically, what we’ll need to do is add each app to the Home Screen one at a time. The process can seem a little tedious at first, but it goes pretty quickly once you get the hang of it. I just put on a few videos while I worked on setting up my Home Screen. First, you’ll have to make sure you have the Shortcuts app installed. It usually comes pre-installed on most devices, but if you deleted it at some point, you can go to the App Store and re-download it. I’ll have it linked at the top of the article if you need it, or you can search for it in the App Store. You can follow the next steps after installing Shortcuts.
- Open Shortcuts. It’ll take you to a start page. If you previously had any shortcuts installed, you’ll see them here. If you’ve never used the Shortcuts app, you’ll see a few suggestions for things you can do to get started.
- Tap the + button to create a new shortcut.
- Tap the field for “Shortcut Name”, and give your shortcut a name. I typically just name it the same as the app I’m adding to the Home Screen.
- Tap “Add Action”. This will bring up a menu of various things you can do.
- Tap “Scripting”.
- Tap “Open App”.
- Tap the blue text that says, “App”. This button will bring up a list of all the apps currently installed on your device.
- Look through the list to locate the app you want to add to your Home Screen. Tap on that app once you find it in the list.
- Tap the blue circle at the top right. This is the details button. You’ll notice the button has 3 white sliders within the blue circle.
- Tap “Add to Home Screen”. A menu with options will appear.
- Take a look at the section that says, “Home Screen Name And Icon”. There are a few things we need to do in this section. First tap the icon button. In my screenshot, this button is indigo, but yours might be a different color. This is the button we’ll use to set our custom icon.
- Select either: Choose File, Choose Photo, or Take Photo. The option that you select will depend on where you saved your icons back in Step 2. If you saved your icons in the Files app, use “Choose File”. If you saved your icons in the Photos app, use, “Choose Photo”. Alternatively, if you’d like to take an image of something to use as a custom icon, you can select the option to “Take Photo”. My icons are in Dropbox, so I’ll be using the option to “Choose File”.
- Next, you’ll get a screen asking you to select the photo you want to use. If you’re using the Files app, navigate to the folder containing your icons, and tap the desired icon. If you’re using the Photos app, scroll through your images until you see the icon you’d like to use and tap on it. If you decided to take a photo, you’ll see the view finder for the camera pop up. You can just take a photo, and it’ll be added as your icon.
- After setting the icon, you’ll see a field for the Shortcut Name. The name in this field will be the name that appears on your Home Screen. If you want to create icons that don’t have the names at the bottom, just erase whatever is in the field.
- Tap “Add” at the top right when you’re finished customizing these options. The icon will be added directly to your Home Screen.
- Next, you’ll want to repeat this process for any additional apps that you’d like to add to your Home Screen.
Advanced Home Screen Customization
Once you’ve changed your wallpaper and set up all your app icons, you’re technically done. You should have a nice-looking Home Screen with a bit of your personal flair. If you’re anything like me, the basics just won’t cut it. I wanted to take things to the next level. There are some apps that can help us do just that!
Adding Transparent Icons
As of writing this guide, iOS does not allow us to assign icons with a transparent background. If you select a transparent PNG file as your Home Screen icon in Shortcuts, the Shortcuts app will automatically add a solid background. Don’t worry, though! There is a way to get around this limitation. To achieve the transparent background look, we can use an app called Transparent App Icons. This app allows us to set up each icon that we want to use, add it to our Home Screen.
- Download and install Transparent App Icons from the App Store.
- Make sure you have the wallpaper that you’d like to use already setup on your device. If you haven’t done this step yet, use the instructions provided in Step 3 to get your wallpaper set. We need this step complete before we start working on our icons.
- Go to your Home Screen.
- Press and hold the dots right above the dock. If you only have one Home Screen, you won’t see those dots. In this case, you can press and hold anywhere on your Home Screen to get into editing mode.
- Once you’re in editing mode, swipe from right to left until you get to an empty Home Screen with no apps or widgets.
- Take a screenshot of the empty Home Screen. Once you’ve taken the screenshot, you can tap “Done” to exit editing mode.
- Open the Transparent App Icons app.
- Tap “Add Screenshot”, and select the screenshot you took of your blank Home Screen.
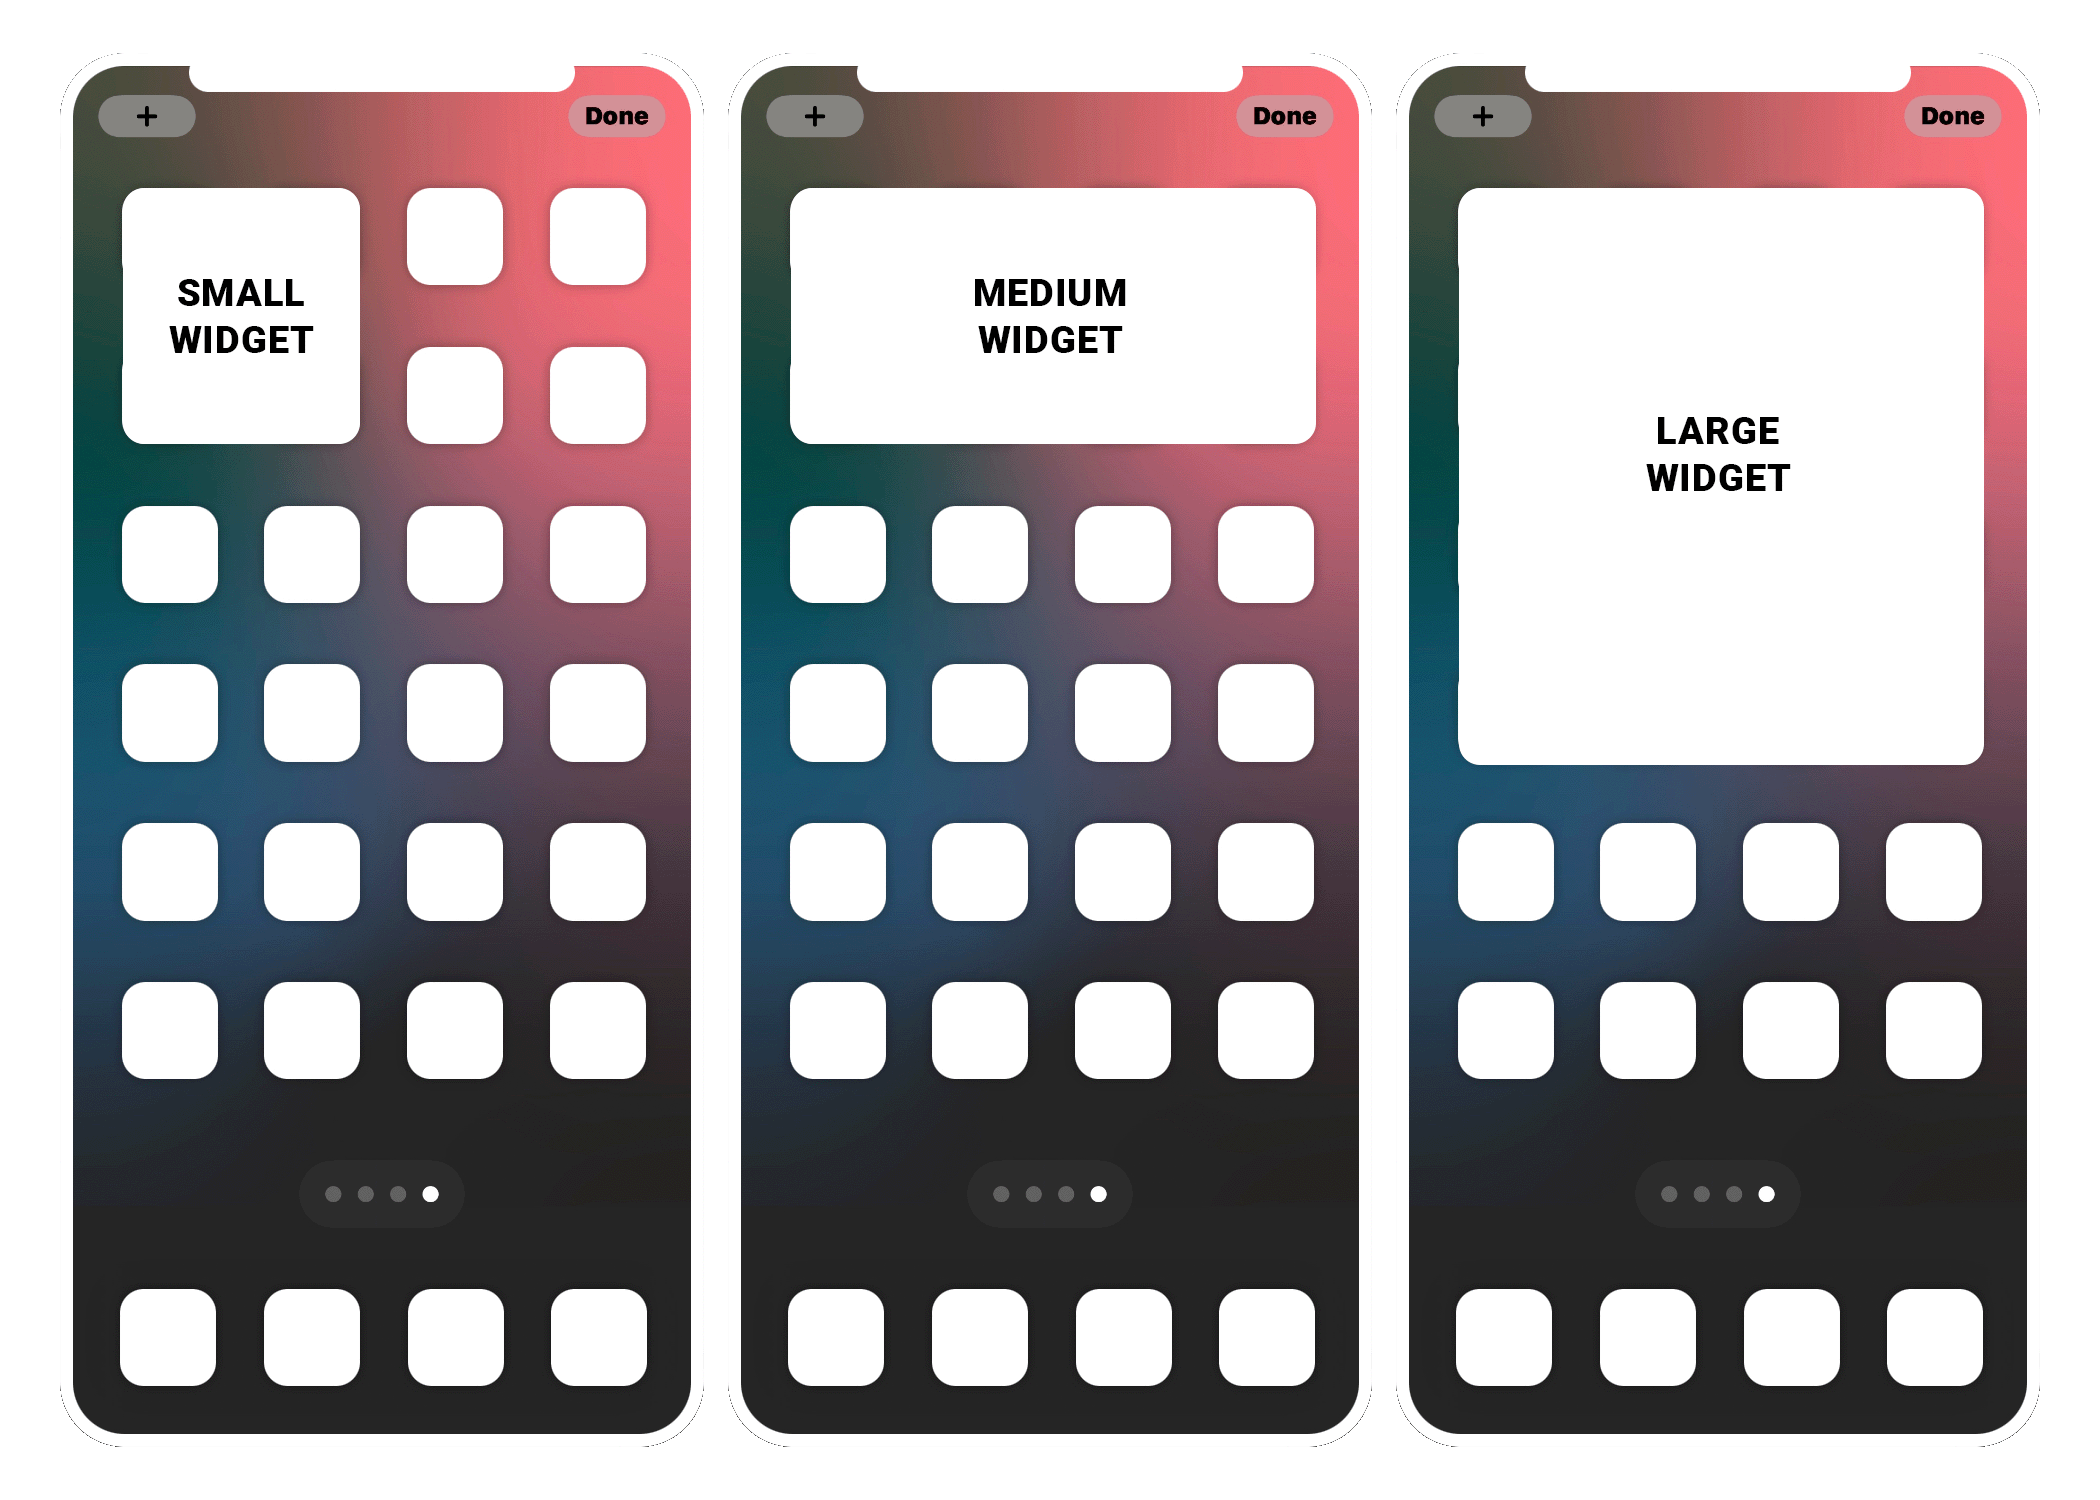
- You’ll see a phone with multiple white squares representing your Home Screen icons. Each white square can be tapped. You’ll need to tap on the white square that corresponds to the position where you want the specific icon to appear on your Home Screen. If you will be using widgets on your Home Screen, you’ll have to account for how many spaces the widgets will take up. Take a look at the image below if you need some guidance on how many spaces each widget size requires.
- Tap “Customize”. A menu will pop up with options for the icon.
- Tap the blue circle with the three dots. This will pop up a sub-menu.
- You can “Choose Icon” or “Paste Image”. The “Choose Icon” option will bring up a library of pre-installed app icons for most of the popular apps. This is a good option if you don’t have an icon pack or your icon pack doesn’t include the specific app you’re looking for. The “Paste Image” option allows you to paste any image that you have saved in your Photos app or the Files app. This is the option I’ll be using, since my icons are in the Files app.
- Navigate to the location of your icons. Tap on the image that you want to set, and then tap the share button.
- Tap “Copy”. The image will be copied to your clipboard. Go back to the Transparent App Icons app, and tap “Paste Image”.
- Tap “Done”, and you’ll see a preview of your icon.
- Tap the share button at the bottom of your screen. This will save the new icon directly to the Photos app. If you’d like to save it to a different location, you can tap “Share” at the top right of the menu.
- After saving your icon, tap “Close”.
- Next tap “Done”. This will take you back to the icon layout screen, where you can select your next icon placement.
- Repeat these steps for any additional icons that you need to add to your Home Screen.
- Once you’re done saving each icon that you need, go into the Shortcuts app and repeat what we covered in Step 4.
Adding Transparent Widgets
You can add transparent widgets to your Home Screen with the use of Widgy. Widgy is an outstanding app that allows you to create cute widgets. There’s a massive library of existing widgets to choose from, and of course, you can create your own. Widgy has the option to use a transparent background on any widget. Simply modify the widget and set the background to transparent. Widgy will have you upload your current wallpaper, just as we did for Transparent App Icons. After your wallpaper uploads, Widgy will be able to use that image to create the illusion of a transparent background.